Iriser: plante- og omsorgshemmeligheter
Innhold:
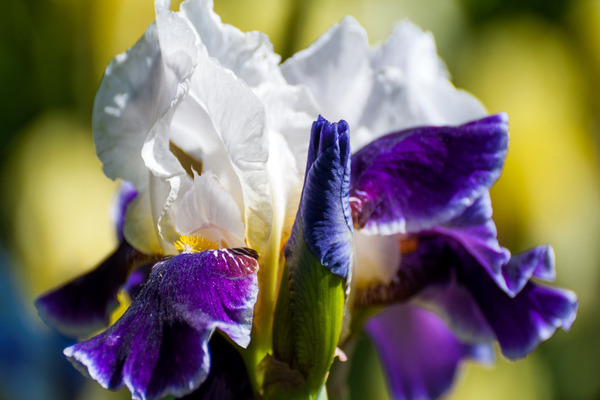
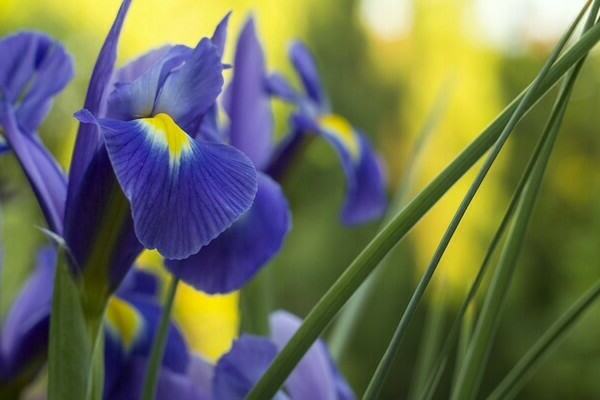
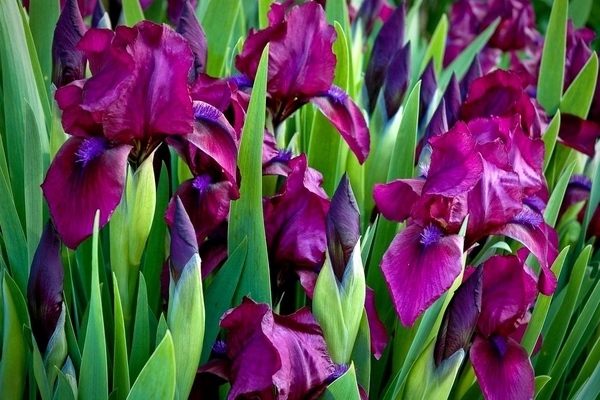
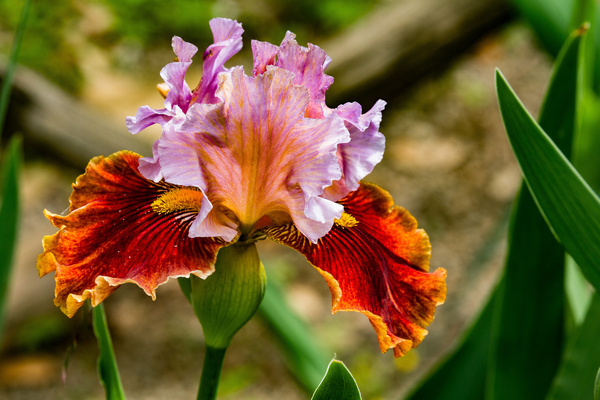
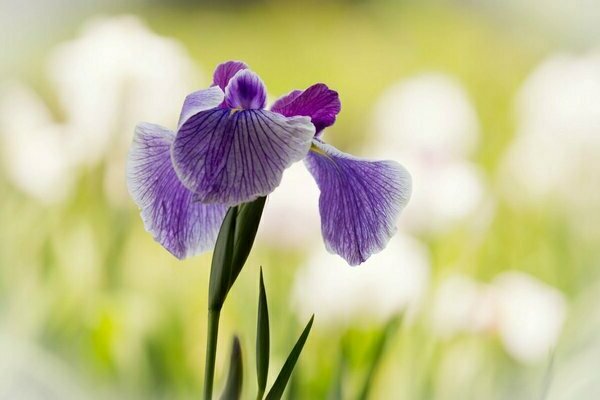
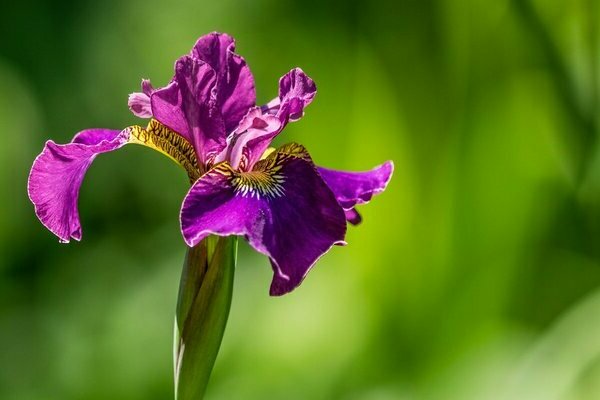
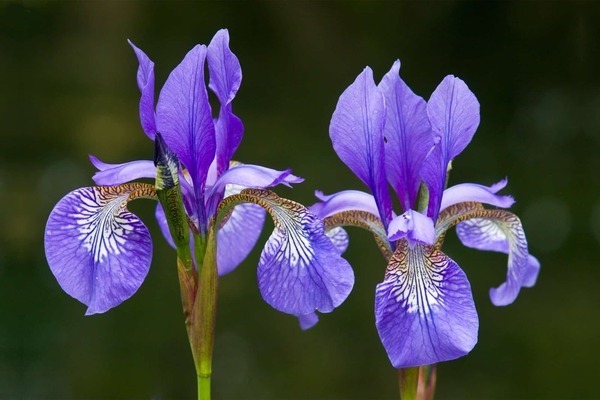
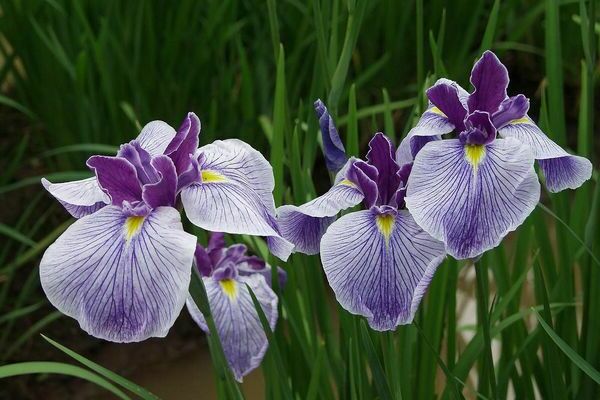
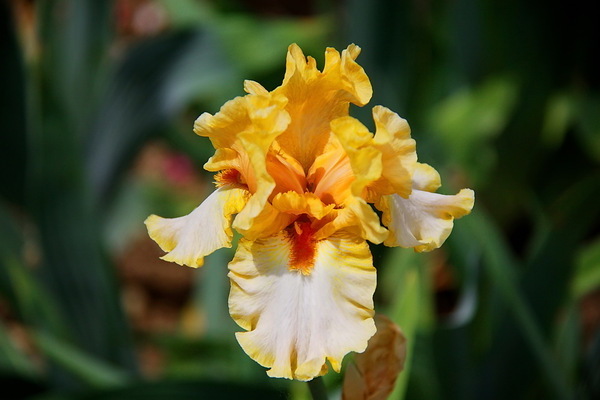
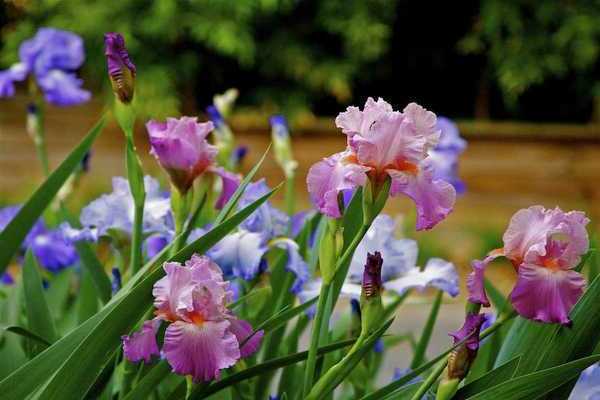
Iris er de mest delikate og vakre blomstene. Distribuert nesten over hele verden. I vårt område er det mer enn 250 arter av disse fantastiske blomstene.
Iris: plante om våren
Røttene til iris ligner tråder, har en eller flere peduncles. Bladene er flate med en liten blomstring. Det er praktisk talt ingen stilk av iris, den er veldig kort. Fargen på irisblomsten er variert, alt avhenger av sorten. Vanligvis forblir iris i det åpne feltet for vinteren. Men det er best å formere det om våren. Derfor må du kjenne alle reglene for planting av iris om våren. For planting bruker jeg oftest hjemmematerialet mitt. Men når jeg vil ha nye varianter og blomster, handler jeg i en hagebutikk. Før planting behandler jeg plantens røtter godt og undersøker dem for tilstedeværelse av sykdommer og skadedyr. Jeg luker ut de syke røttene, kutter av de friske. Etter at beskjæringen er fullført, sender jeg røttene til manganløsningen i 20 minutter. Når plantingen av iris begynner, må du sørge for at jorden er fuktig og løs. Den høye surheten er veldig gunstig for utvikling av iris. Å plante iris er veldig enkelt, vi legger ryggraden horisontalt og fyller den med jord. Sørg for at toppen av rotsystemet forblir på jordoverflaten. Vi søler blomsterbedet veldig godt med varmt vann. Hvis været er veldig tørt, bør busken gi skygge for irisene. Vann irisene hver femte dag.
Iriser: høstplanting
Det er mulig å transplantere iris i jorden om høsten, men det er noen nyanser. Du må forberede en plante for høstplanting på samme måte som om våren. Før froststart, må vi dekke irisene med en film, fiberduk eller grangrener.
Naboer i blomsterbedet
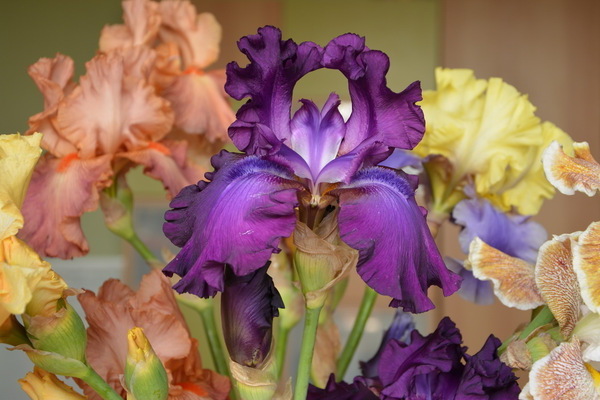
De beste naboene i et blomsterbed for iris er morgenfruer, pioner, tulipaner. Iris kommer også godt overens med lave busker, noe som vil skygge blomsterbedet litt med iris.
Omsorg
Iriser er ikke finurlige og krever ikke nøye oppmerksomhet til seg selv. Denne blomsten tåler tørke ganske rolig, men når ikke irisen blomstrer, ikke la jorden tørke ut. Luke og løsne blomsterbedet innimellom. Hvis du merker syke eller skadede blader, må du kutte dem forsiktig av. I hele sesongen trenger iris bare tre ekstra gjødslinger. Den første fôringen utfører jeg så snart snødekket smelter. Den andre, så snart irisene har dannet knopper. Tredje gang jeg mater blomstene, en måned etter begynnelsen av blomstringen. I slutten av august eller begynnelsen av september vil nesten alle varianter av iris falme. Planter begynner å forberede seg på dvale. Det er ikke nødvendig å vanne irisene for øyeblikket. For å sikre at røttene til iris ikke stopper utviklingen, kutt av de tørkede bladene og blomstene. Sjuke eller skadede greener bør også fjernes fra planten.
Lagringsregler
Mange gartnere har minst en gang lurt på om det er nødvendig å grave iris for vinteren? Jeg kan trygt svare, nei, det er ikke nødvendig. Men hvis du likevel bestemte deg for at det er best for iris å overvintre i kjelleren, så vil jeg fortelle deg hvordan du gjør det riktig. Forbereder iris for overvintring: - Rengjør røttene godt fra bakken; - vi kutter av lange og ømme røtter; - desinfiser røttene grundig; - vi tørker; - vi pakker i fiberduk. Iris lagres best i en trekasse, på hvilken det er best å helle nåler eller sagflis. Vi pakker hver rot forsiktig inn i klut eller papir, og bretter den slik at røttene ikke berører hverandre.
Vi formerer og transplanterer
Det er best å transplantere iris om høsten, og deretter om våren vil de bli sterkere og glede deg med frodig blomstring.Transplanteringsregler: - grave forsiktig ut buskene og fjern dem fra bakken; - vi undersøker busken for skader og sykdommer; - kutt røttene med en skarp saks; - dryss kuttene med aske; - vi tørker røttene i åpen sol; - vi planter iris i hullene i anstendig avstand fra hverandre. Jorden for planting må fuktes og gjødsles. Etter planting søl vi irisene godt med varmt vann. Det er best å begynne å transplantere iris når planten har falmet, så røttene vil ta raskere inn og ikke lide av frost om vinteren.