Topiary. Krøllete hårklipp av busker.
Denne artikkelen vil fortelle deg om den gamle, men alltid relevante kunsten å lage "levende" figurer - topiary, som har dekorert europeiske hager i århundrer. Du vil også lære hvordan du lager et gjør-det-selv-topphus på nettstedet ditt.
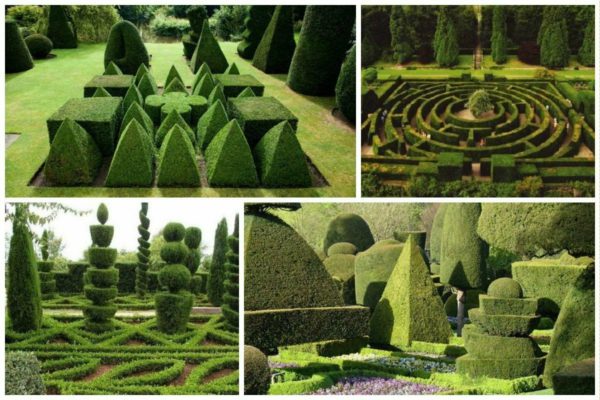
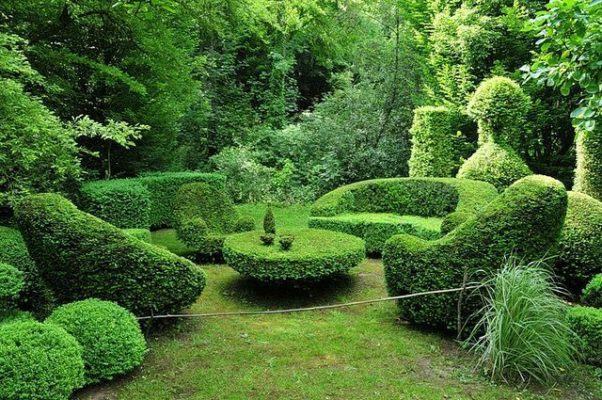
Topiarfigurer: foto
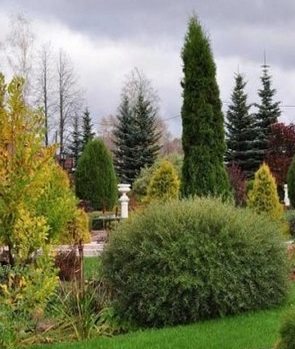
Selvfølgelig er det neppe mulig å følge fullt ut i fotsporene til europeiske mestere i hagedesign under forholdene i den innenlandske mellomsonen. Tradisjonelt innebærer kunsten å forme grønne former bruk av laurbær, buksbom, barlind, myrte. Enig, kulturer er ganske eksotiske for klimaet vårt. Derfor, som en analog, behandler innenlandske gartnere thuja western. Den mest populære sorten er søyle thuja. Dette er en eviggrønn, upretensiøs plante med en tett krone og en deilig aroma.
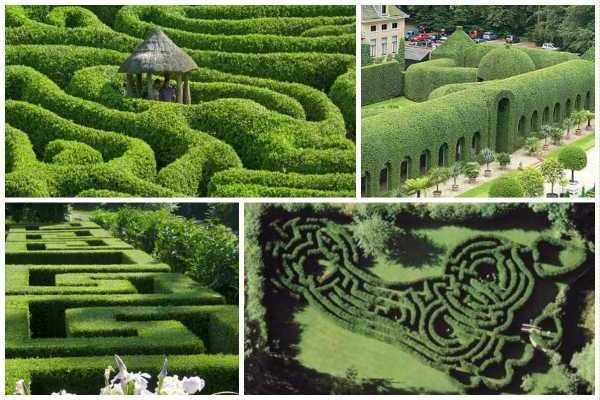
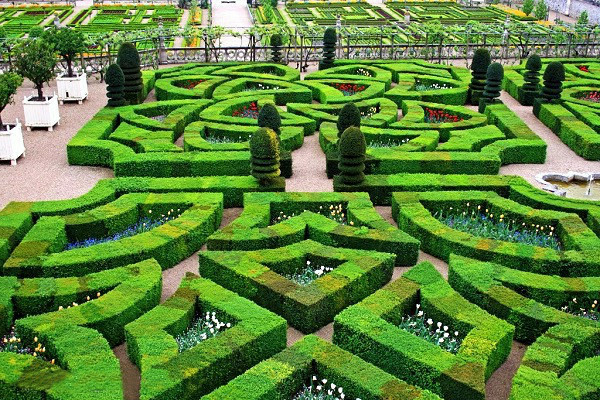
Topiaras figur: foto
Du kan kjøpe allerede vokste frøplanter av thuja topiar, eller du kan dyrke dem selv fra frø, noe som vil ta mye tid. Frø blir sådd før vinteren og spirer om våren. Etter to år trenger de en transplantasjon, siden de vokste plantene blir trange. På dette stadiet kan du velge de mest levedyktige og sterke trærne og jobbe videre med dem. De vil være klare for landing og forme dem om 4 år.
Stedet for planting av ung thuja topiar bør være åpent og godt opplyst slik at kronen utvikler seg jevnt fra alle sider. Men beskyttelse mot kulde og vind vil ikke være overflødig, derfor er det optimalt å ordne trær under beskyttelse av bygninger eller åser. Thuja foretrekker lerjord, som anbefales å gjødsles med organisk materiale på forhånd. Før du lander, bør du også grave opp området for halvannen eller to bajonetter av spaden.
Etter planting består omsorg for thuja topiary i vanlig vanning, fordi denne arten foretrekker fuktig jord og luft og tåler ikke tørke. For å beholde fuktigheten anbefales mulking med torv eller gjødsel. For å fremme dannelsen av en tett krone, kan du med jevne mellomrom knipe toppen av de aksiale skuddene. En vanlig beskjærer brukes til å forme thujaen.
DIY topiary figur: foto
Det er flere regler for å danne en krone for topiary:
- Forholdet mellom høyden på den kunstige kronen og den naturlige skal være 1: 3;
- Bare beskjæring av årlige skudd (tynnere enn 1 cm) er tillatt. Langsiktig vekst kutter bare som en siste utvei og gradvis for å unngå å forårsake dype sår på treet;
- Du kan fylle tomrommet i kronen ved å forkorte tilstøtende skudd.
Tydeligvis krever kunsten å gjøre-det-selv-topiary ikke bare kreativitet, men også tålmodighet. Tross alt kan prosessen med krondannelse ta flere år. For eksempel for å gi kronen en konisk form, må følgende sekvens av handlinger observeres:
- i det første året er toppen av treet klemt;
- i det andre året er beskjæring av topp- og øvre skudd som stikker utover ønsket form tillatt;
- i de neste 3-4 årene gjentas trimmingsprosedyren til kjeglen er fullstendig dannet;
- for å gi den allerede dannede kronen en tydeligere oversikt og tetthet, blir hårklippet utført 4 til 6 ganger per sesong;
- For å opprettholde en konisk krone i perfekt stand, er det nok å trimme den to ganger i sesongen.
Topiaras figur: foto
Det er også mulig å danne en topierskikkelse i form av en standardkrone, for eksempel i form av en ball. For å gjøre dette, samtidig som du trimmer de øvre skuddene, må du gradvis bar stammen. I det første året kan du fjerne skuddene opp til 20 cm -merket. I det andre året går du opp ytterligere 20 cm. Sårene påført treet må dekkes med hagelakk.Til tross for lengden på arbeidet og det langsomme tempoet, er Topiars kunst en av de mest effektive måtene å skape et virkelig uvanlig og minneverdig hageensemble.